¶ Things to Print
¶ 1. Hydra Pro Advanced AMS (Optional)
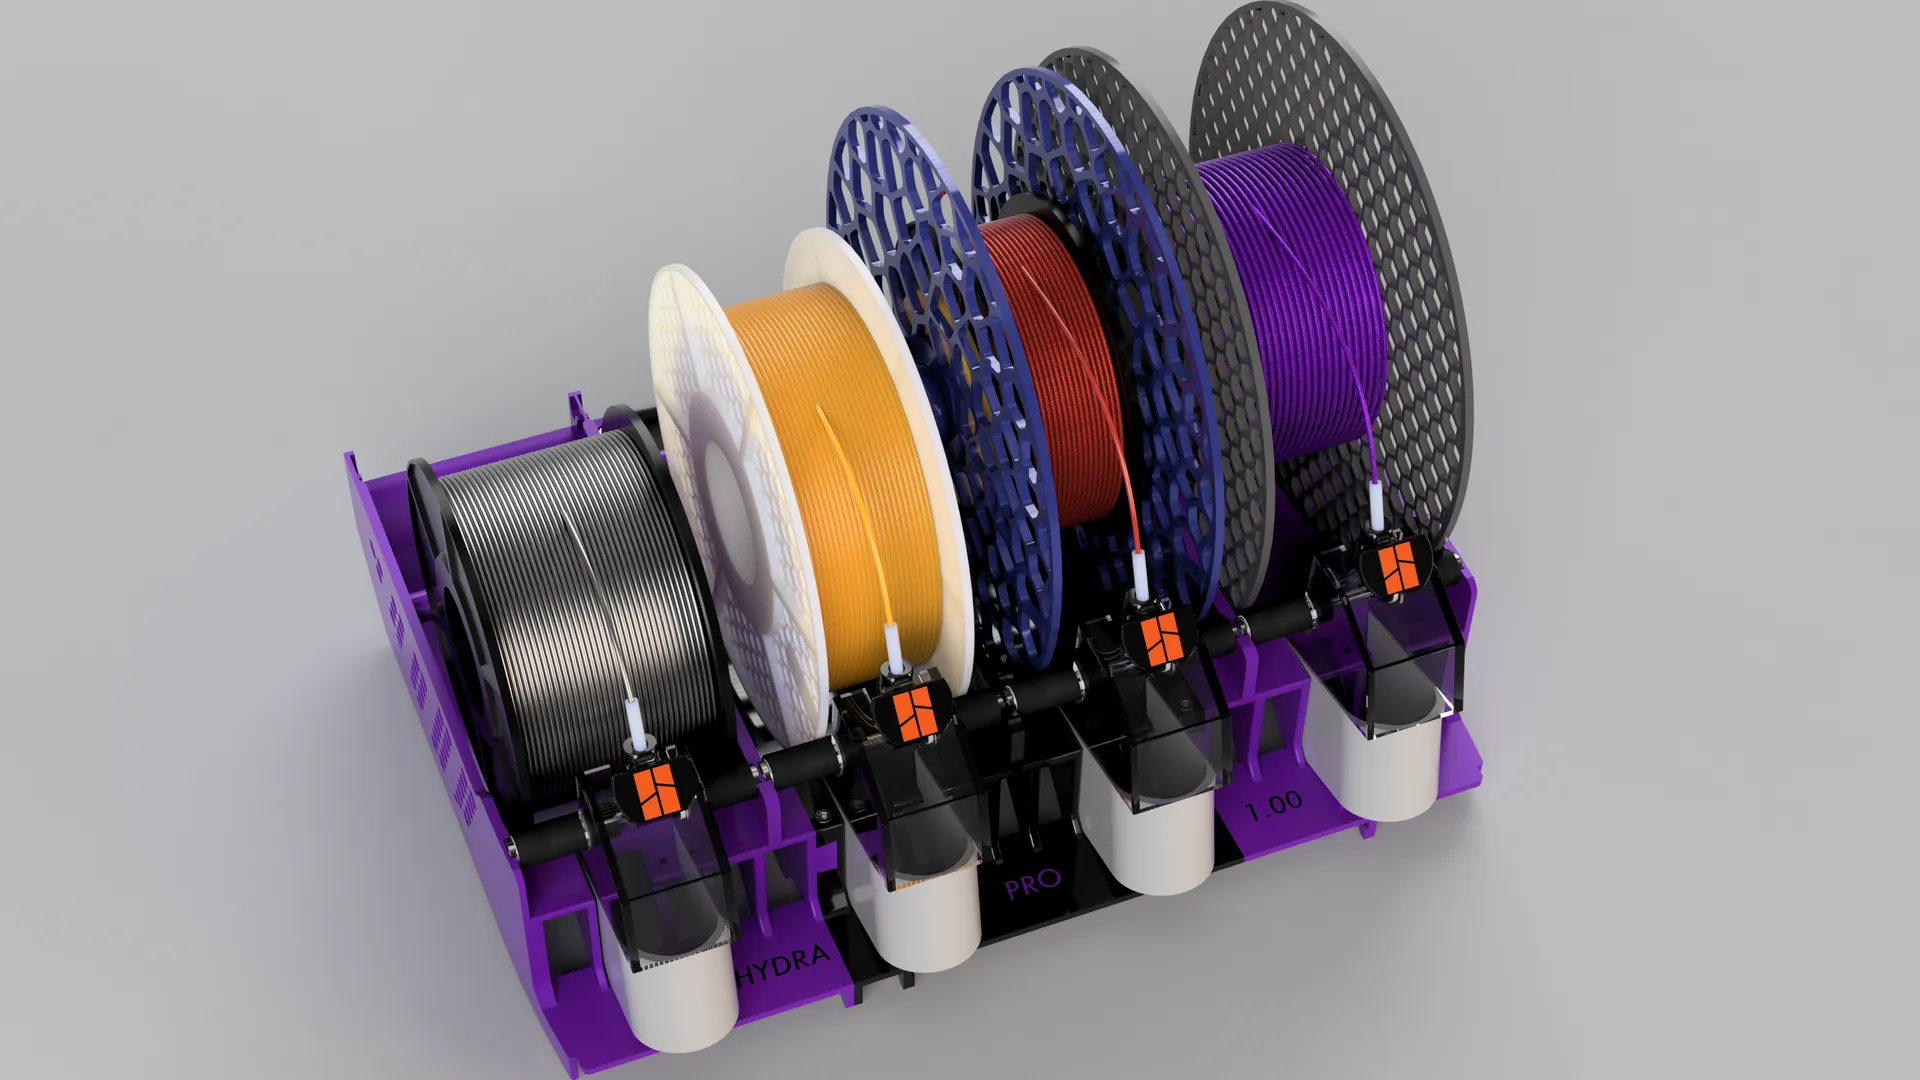
While the original AMS can be used without modifications for OAMS; practically, the Hydra Pro has so many benefits, it is hard to argue for keeping the original AMS tray. Specially when the cost of printing the hydra is about 800g of filament. This will allow you to use spools of different sizes, have better rollers.
Why settle for the AMS as-is when you can supercharge it? The Hydra Pro turns your AMS into a filament-handling ninja with upgrades that redefine "next level." It's sleek, efficient, and engineered for makers who don't do "meh." Print it here: Hydra Pro on Printables.
¶ 2. Cardboard Spool Rims
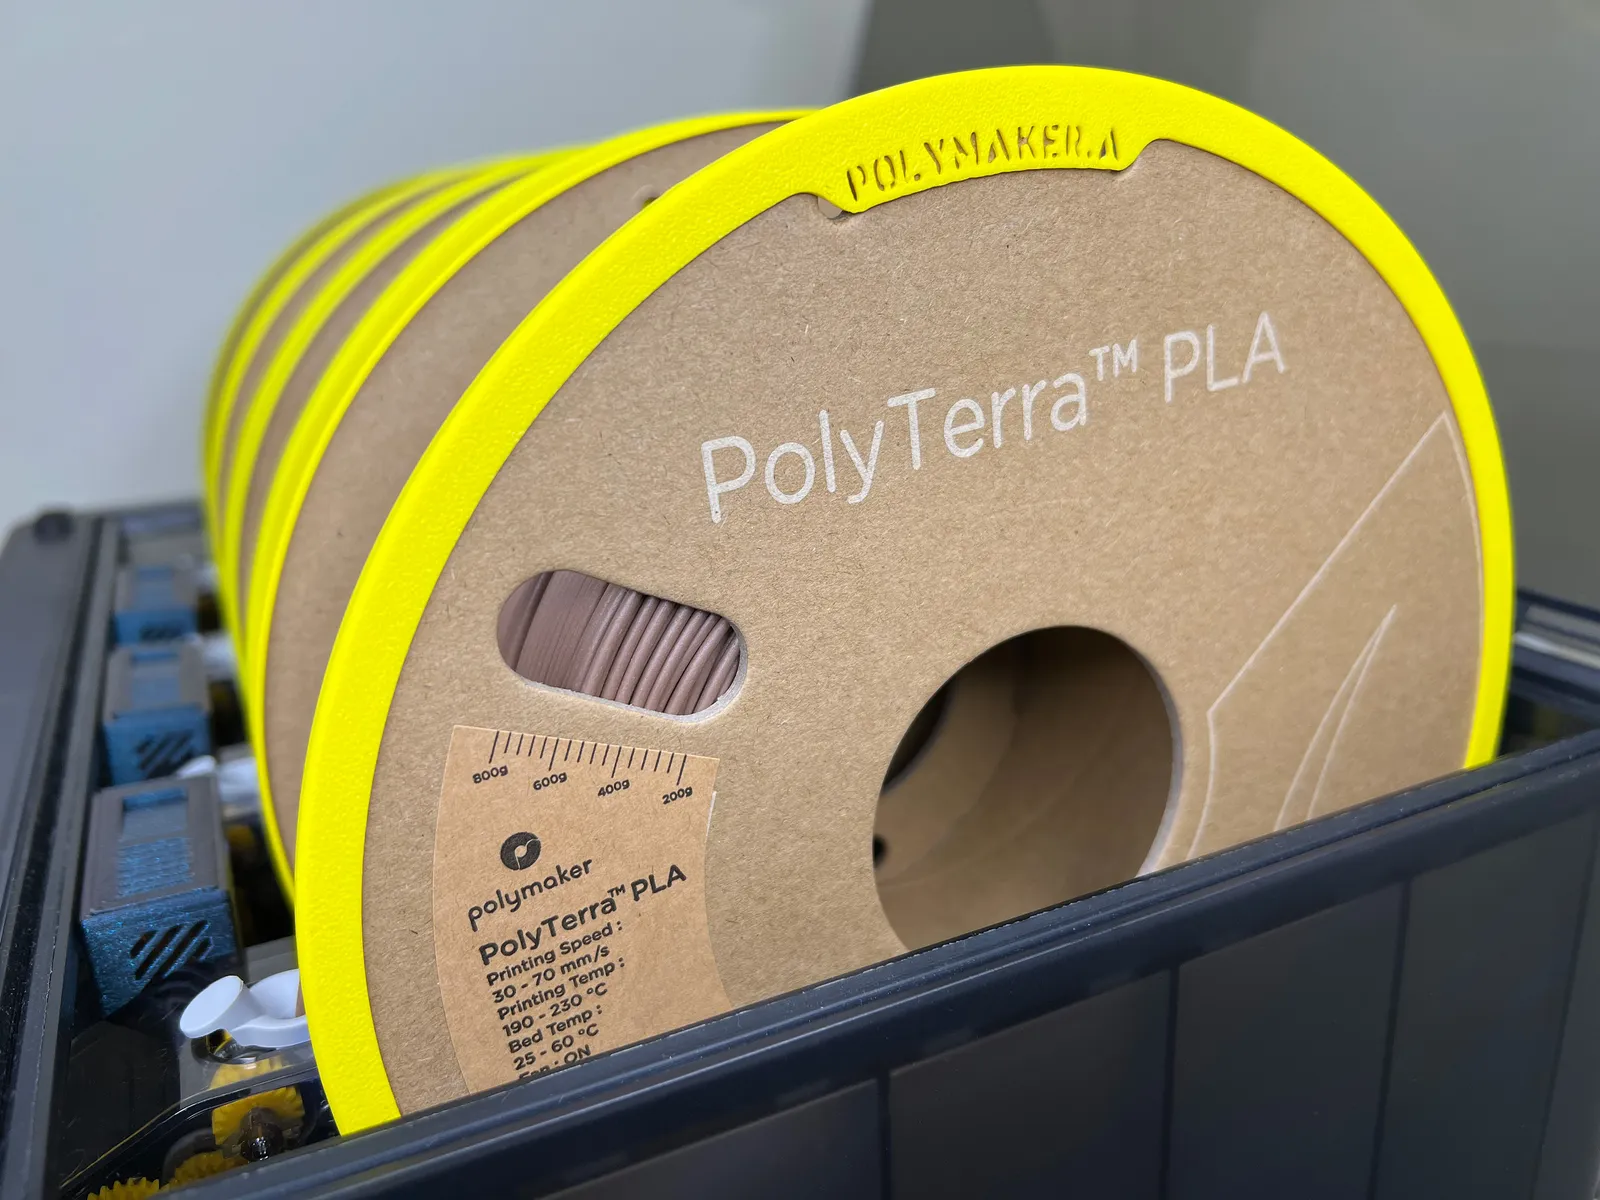
If you will be using cardboard spools (and who isn't nowadays), you will also need some way for those spools to have proper friction against the front rollers (and avoid shredding the cardboard spool). The series of spool rims by DesignCraft is highly recommended, as it offers the least amount of material that works reliably with cardboard spools in the OAMS. The designs include lots of different filament manufacturer adapter rims. All these rims can also be printed in TPU (not through the OAMS please!) for an even higher performance, and nearly indestructible, set of rims. Using TPU has also the benefit of putting less wear, and yet providing more friction, between the front rollers and the spool.
¶ 2. Filament Buffer Housing
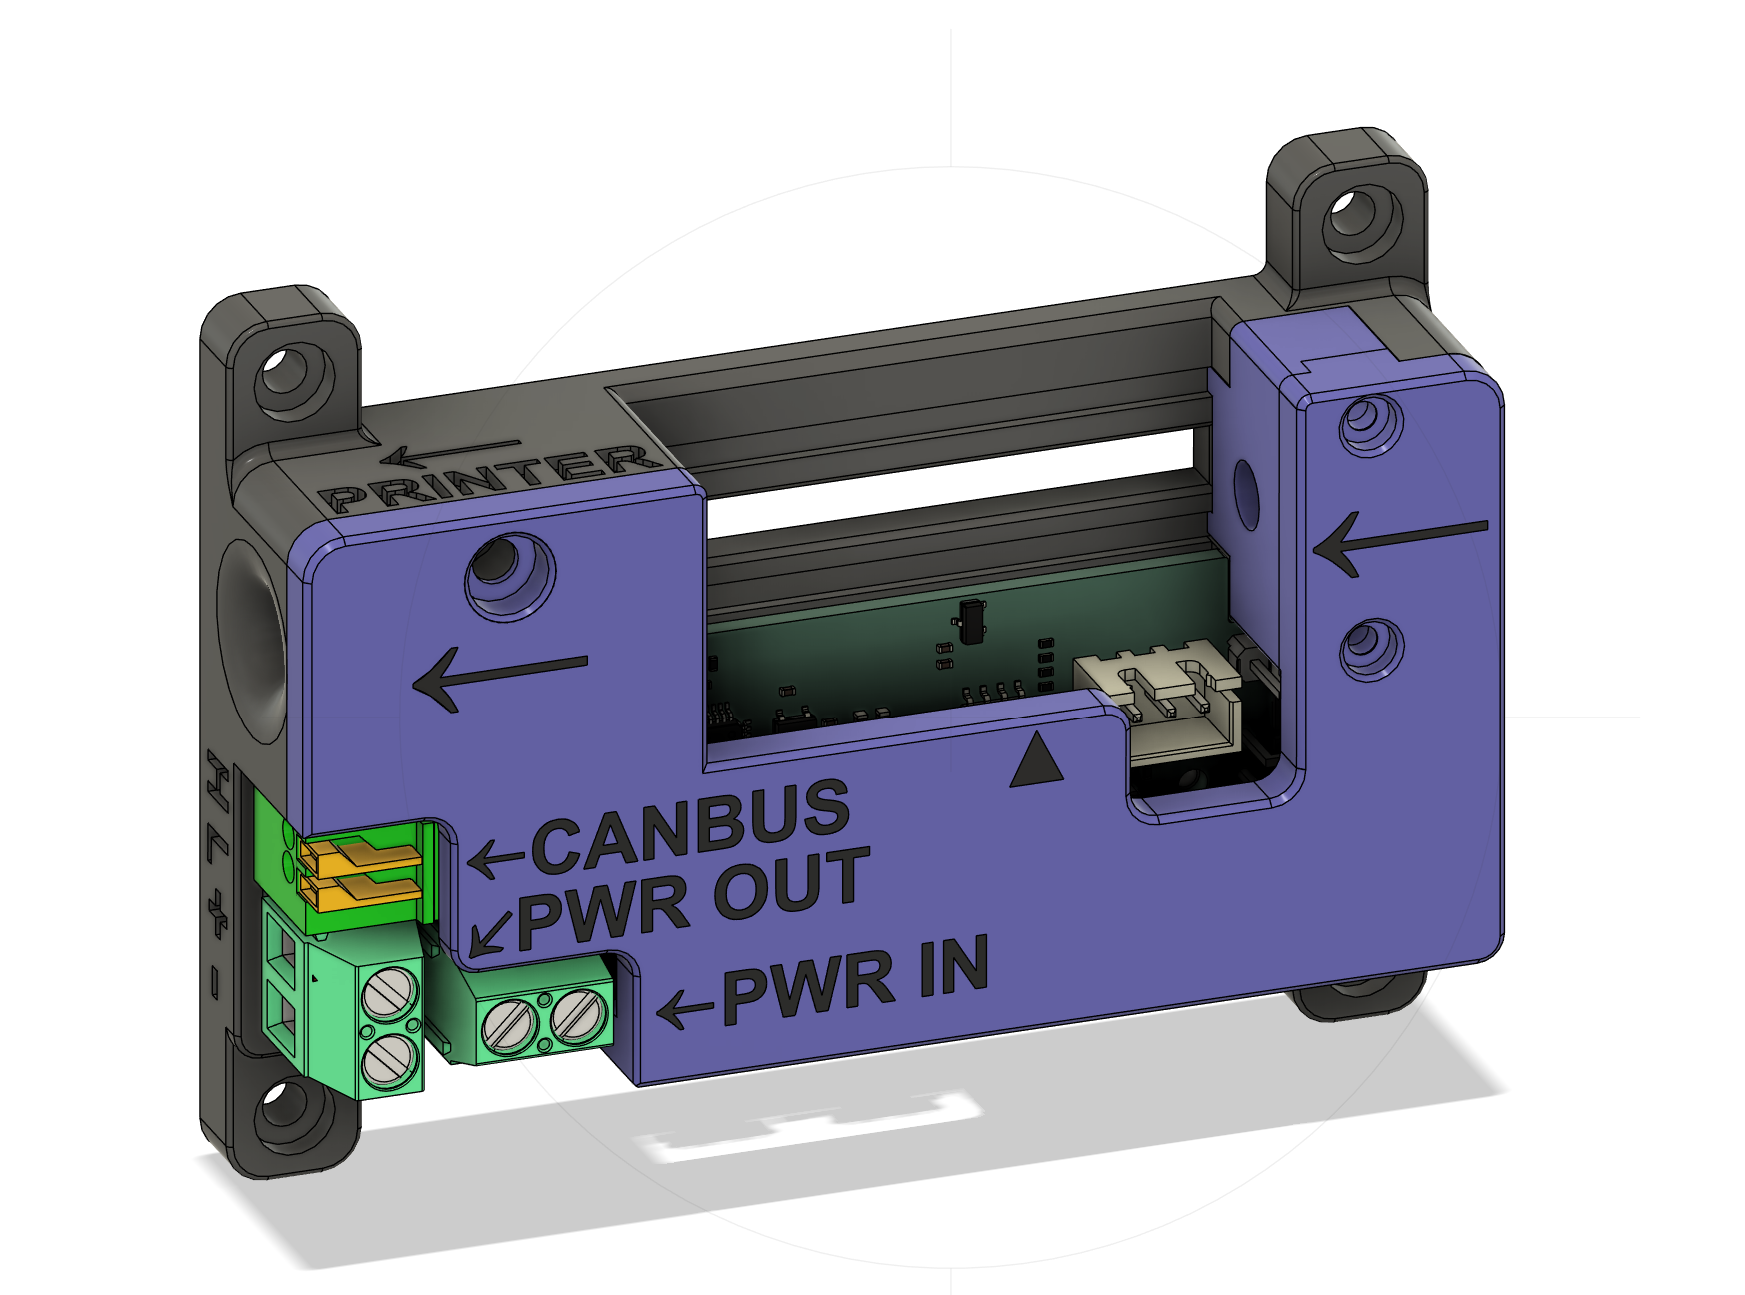
Now, here's the scoop: your AMS's magnetic slide and spring need a new crib—think "Pimp My Ride" but for filament. Replace the original buffer with a pressure-sensor-enabled buffer board. Print and assemble from the STL files here: Filament Buffer on GitHub.
You will need to print:
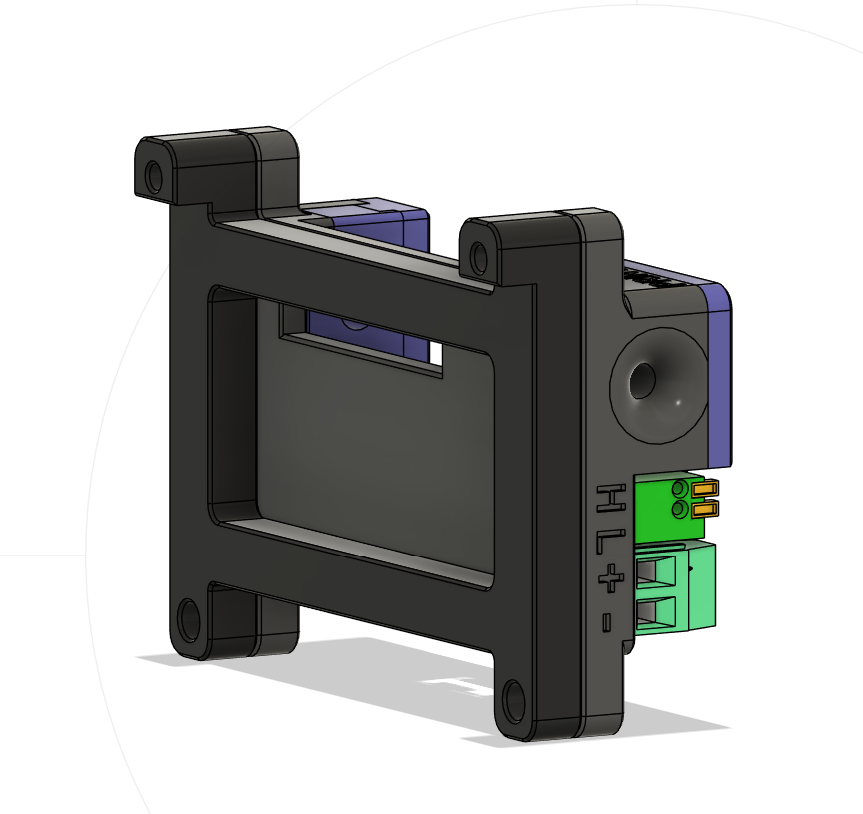
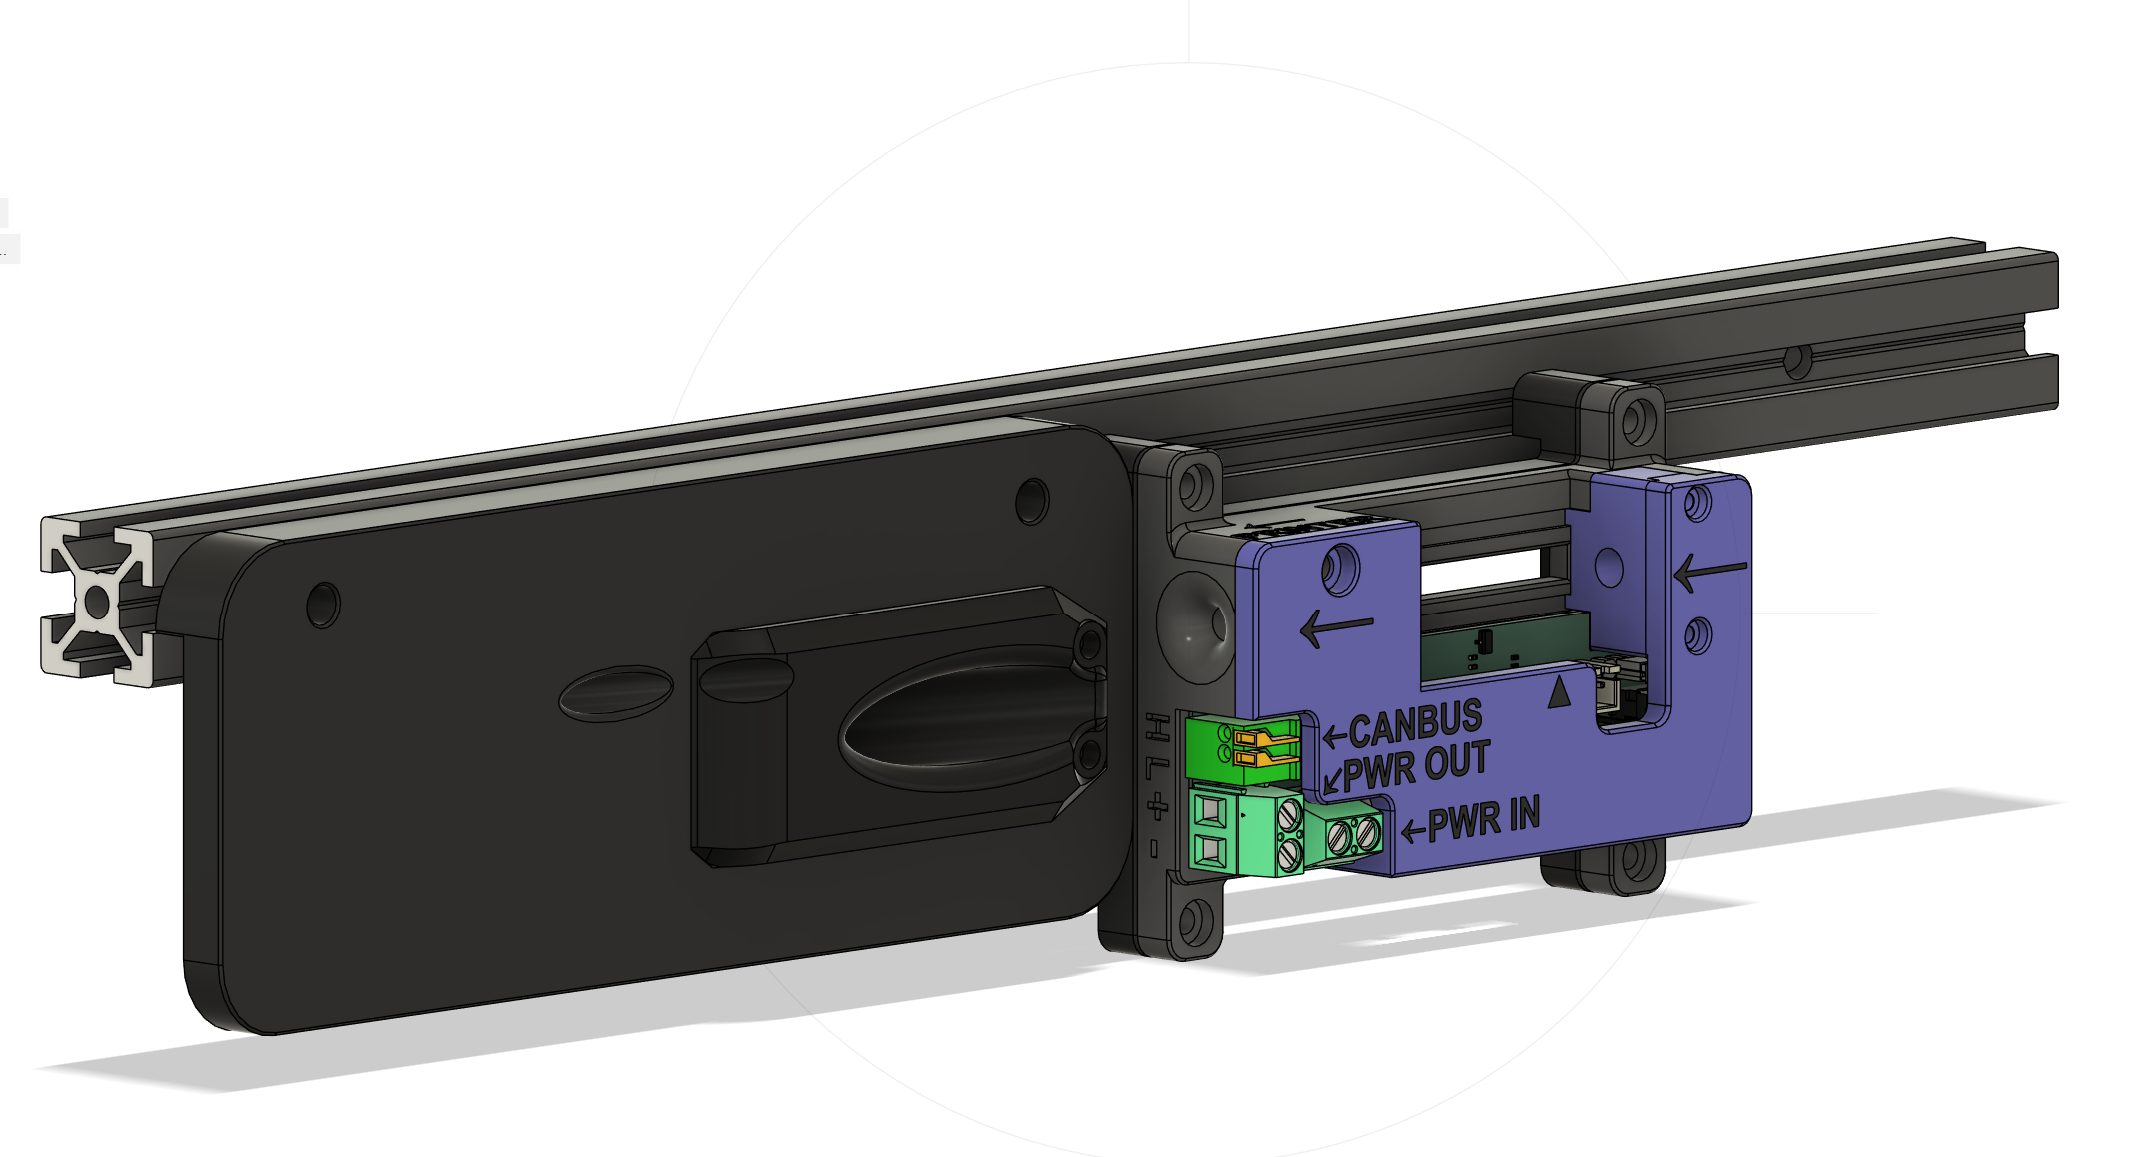
The case has 4 mounting holes and can be adapted to be attached almost anywhere with extrusions or double sided tape.
If you want to mount to 2020 extrusions and have some panel width, you can use the adapter plate provided
 .stl)
.stl)
All CAD designs are provided in case modifications to the adapter plate are necessary for larger or smaller distances from the panels to the extrusions.
¶ 3. Rear umbilical (Optional)
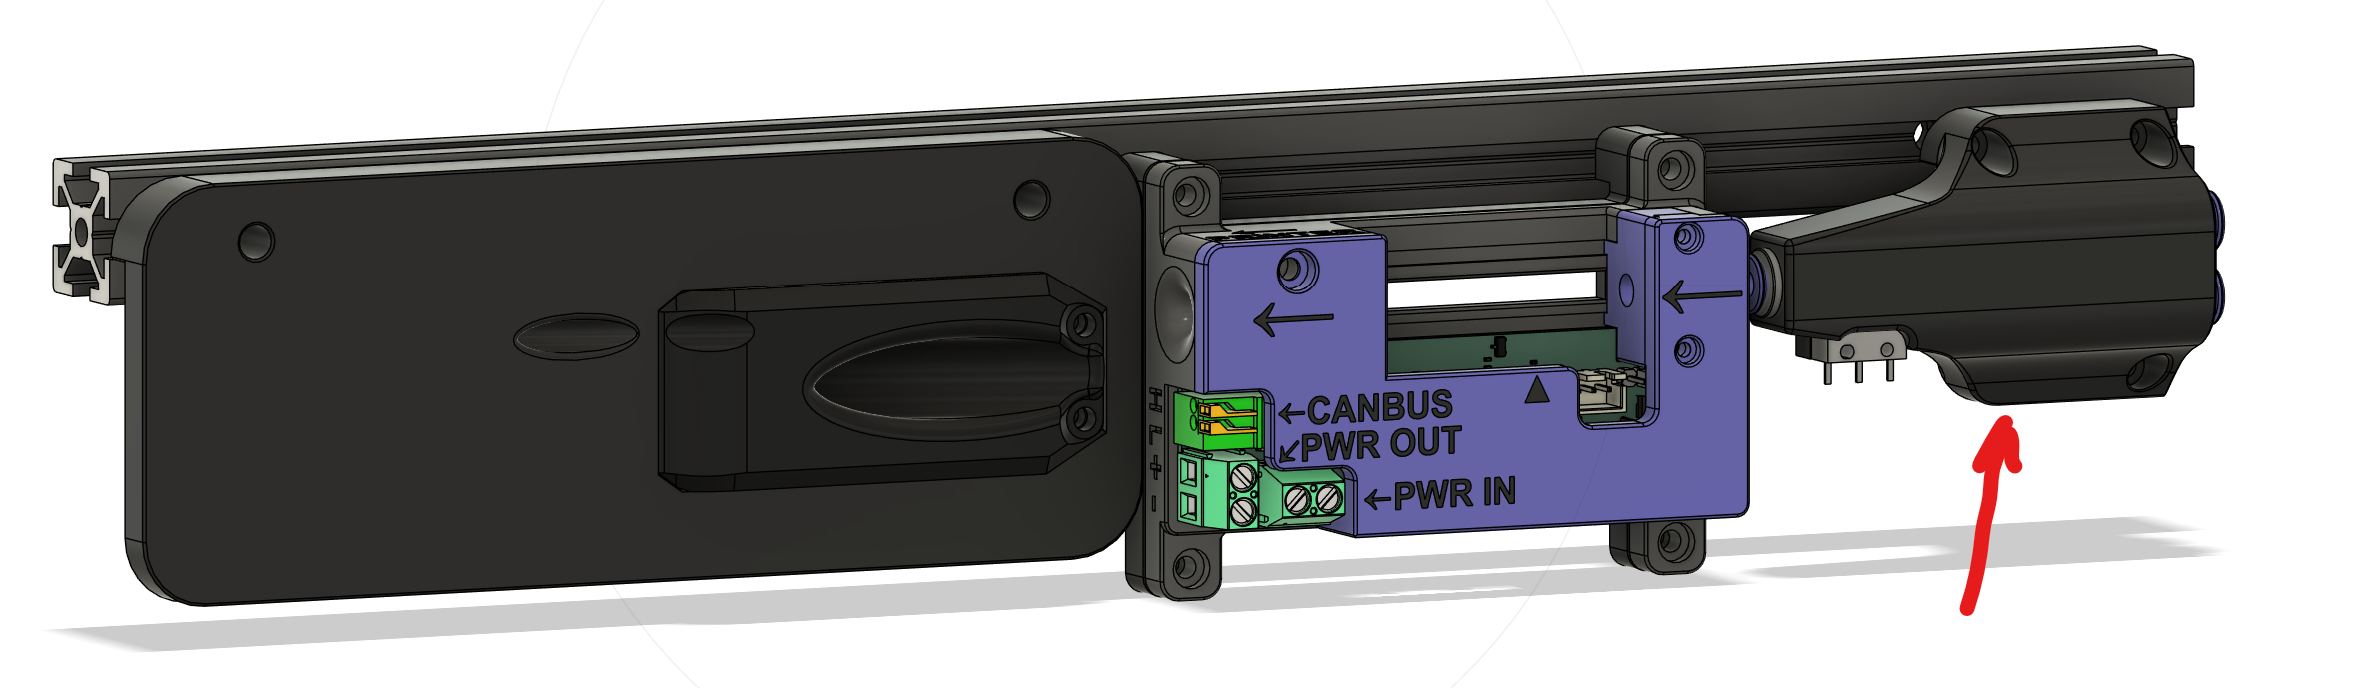
If you are planning on using the FPS board to also power a canbus toolhead board (such as an EBB36), you will some way of getting the cables and the filament from the AMS case over to the toolhead. In the repository you can find a modified version of taenes whopping mods rear umbilical. The version in the repository has been enhanced to correctly line up with the case, from the left side of the printer (if looking at it from the front).
Print this:
¶ 4. Multiple AMSs Filament Path Joiner (Optional)
If you are planning on using more than one AMS linked together, you will need someway to join the paths from each AMS. Provided is a filament path joiner, that takes up to 4 PTFE tubes coming from the AMSs and joins it into a single path. The joiner is meant to be mounted on the corner of the rear 2020 extrusions, and has a D2F Omron switch and and 5.5mm ball bearing, along with 5 ECAS04 type pneumatic fittings.